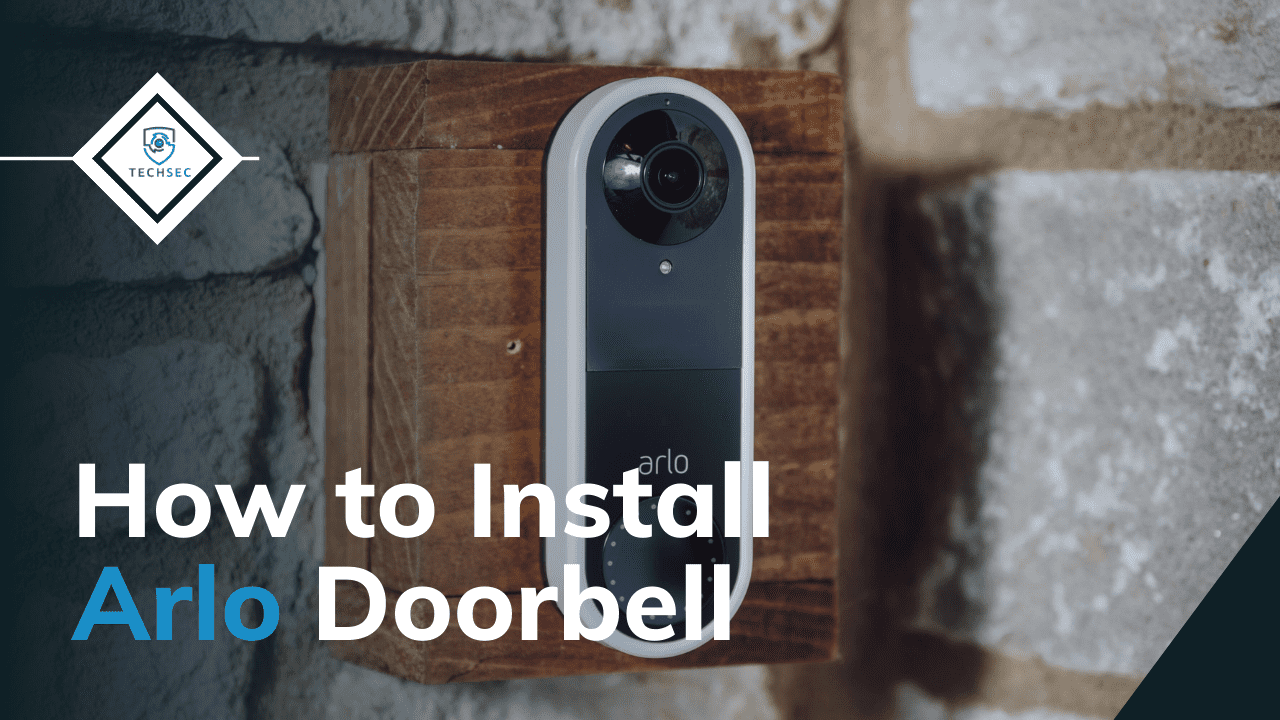
Arlo doorbells have become an essential and vital component of our smart homes.
Many of us know their role, but you can find problems when installing it for the first time. So, here is a guide to your question; how to install Arlo Doorbell.

It is pretty easy to install Arlo Essential Video Doorbell. You can do it by yourself or can contact a local or professional electrician to do the job.
Prerequisites before installation:
First, you have to install the power kit, video Doorbell and then complete the Arlo app setup. You need to find where the existing doorbell chime and your breaker or fuse box are located before beginning the process.
Tools Required
You might need some tools for the installation of your video doorbell setup. These can be as follows:
- A screwdriver
- A ladder to reach your chime box.
- Tape to secure the wires during installation.
If you need to make new holes for your Doorbell, you will need a power drill and a 6 mm drill bit if you are installing your Doorbell with anchor and not sticky tapes.
Installing Your Arlo Doorbell
#1 Have the Arlo App
You need to download the Arlo App on your phone or tablet. Create a new account if you are a new user, or log in to your old Arlo account if you already have one.
Once you have signed in to the app, select "Add new device." Choose Arlo Doorbell Chime and then select the Arlo Video Doorbell.
#2 Installation of Power Kit
First, we need to install the Power kit. You need to find your existing chime box. Chime boxes are commonly mounted on the wall near the front door or in a hallway. If you cannot find the chime box, try to ring-in the Doorbell and follow the sound to locate it.
Turn off the MCB or fuse box to ensure no power to your chime and Doorbell. Try to ring-in the Doorbell again to confirm that the power is off.
As the power supply is off, you can put out the cover of the chime box. Chime box configurations may vary, so follow your configuration steps to loosen the power terminals to attach the power kit.
First, connect the power kit wires to power terminals in your chime box prompted by the Arlo app and tighten the screws. Make sure that the existing chimes wires are still connected to the terminals. The colors of the existing wires may vary. You will see instructions in your Arlo app to confirm that the power kit is wired correctly.
Next, remove the film's case on the backside of the power kit and place the power kit inside and on the other side of the box. For the best placing, try to place it in a location where the power kit and its wires would not interfere during the operation of your chime.
Replace the chime cover once complete.
#3 Doorbell Installation
Now let's see how to put your Arlo video Doorbell with your existing Doorbell.
First, unscrew your old Doorbell and disconnect the wires. Be careful that the wires do not fall back into the wall. You can tape them to the wall to ensure that they stay in place.
Use the releasing bend to detach the mounting plate from the Video Doorbell by pressing through the bottom release hole. Also, you may have to install a flat mounting plate, but it depends upon where your video Doorbell is located. You may want to use the angle mounting plate for optimal view.
Position the mounting plate on the wall keeping the wires, and the hole positioned towards the mounting plate's bottom. Mark the drill holes with a pencil. You may need to drill new holes for the mounting plate if your existing wire doorbell holes are at a different location.
Fix the faceplate to the wall by using screws.
Connect the wires from the wall to your Arlo Video Doorbell. Either wire can be connected to either terminal. Wrap the wires behind the screws and then screw them tight.
Once the wires are connected and screwed-in, snap the Doorbell onto the mounting plate with an up and in motion.
Now can turn the power button on. The light on the front of the Doorbell will turn solid white.
Tap on 'continue' on the Arlo App to continue setup. Your phone should be linked to the identical Wi-Fi network as your Video Doorbell.
Press the Doorbell button to start the sync. Place the QR code on your Arlo app ahead Arlo Video Doorbell. The QR code should be about 8 inches in front of the Doorbell.
Now, create a nice name for your Doorbell to easily identify it in the future.
Once your Video Doorbell has been found, you can find any present updates.
Next, test your chime by following the instructions in the Arlo app.
#4 Arlo Smart Setup
After the Doorbell is installed, select 'continue.' The app will instruct you to setup the Arlo Smart. Arlo Video Doorbell offers you a three months trial of Arlo Smart, and it is subscription-based to give you many smart options for your Arlo Doorbell.
Conclusion
All the steps have been explained in a detailed way to help you install your Arlo Doorbell by yourself. Do follow the precaution measures to avoid any damage to you and your device. Arlo Doorbells are one of the best and advanced video doorbells. If you have any problem while installing the Arlo Doorbell, you can follow the Arlo App instructions.
